![]()
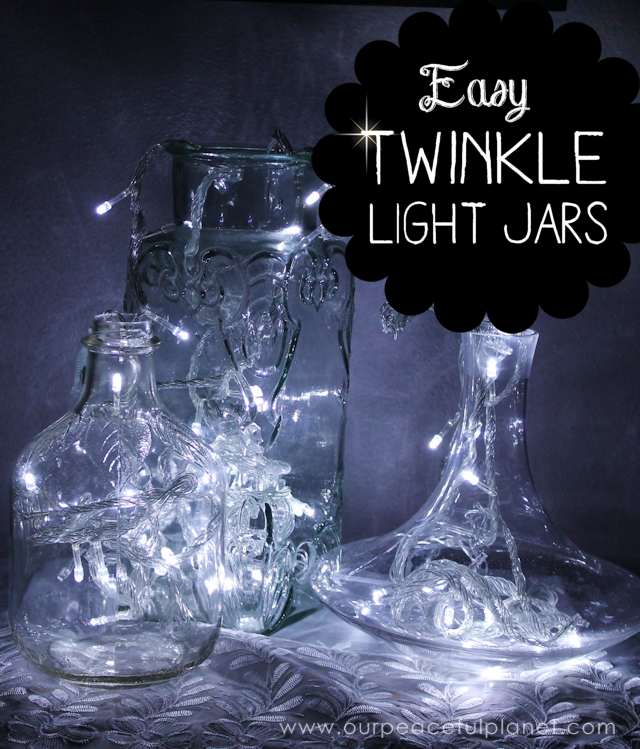
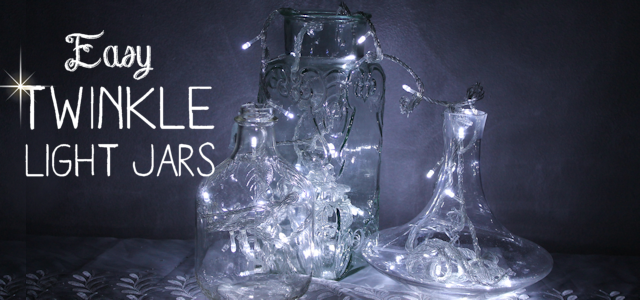
Twinkle lights add a bit of magic to any room! I love them and use them throughout my house and when I did my Budget Bedroom Makeover having twinkle lights in the room was non-negotiable. I decided to make twinkle light jars and after some trial and error I found the best way to create them.
Supplies for Twinkle Lights in Jars
- Jars of any shape and size
- Clear twinkle lights, lights with plug or battery operated. You want the type that is totally clear, including the cord. *
- Diamond drill bit 1″ size (Optional and a bit tricky to use.) Nice lights will look fine being put into a jar from the top.
*I purchased my lights on eBay though the Amazon one’s above are similar. ![]()
My Cost
I already had the jars.
- Twinkle Lights $10.00
- Diamond Drill Bits: $12.99
FINAL COST: $23.00 (Had I decided to just place the lights into the tops of the jars I could have saved the $12.99 for the bits.)
 Instructions
I did a few test runs before figuring out what lights worked best. It will depend on a variety of things but I think the clear LED lights with a clear cord is the prettiest. My battery operated strands were different and the little lights were on a brass strand which was still very pretty.

![]()
These were some of my first attempts using regular twinkle lights. No matter what I did the green cord just didn’t look very nice. They looked best when I wrapped them in my coffee filter twinkle lights. But I still wasn’t satisfied.

![]()
USING A DRILL TO MAKE HOLES: Because I had access to a drill press we drilled holes in our jars to feed the lights through. This requires spraying water onto the bottle as it’s being drilled so it would not get too hot. There are a lot of tutorials out there on various ways to do this using a regular drill. If you decide to do this please read up well on it. Here’s a nice video tutorial I found. I’ll show you the lights being used both ways below. I think that feeding them in through the top of the jar can look fine if its arranged nicely. If I hadn’t had access to a drill to do mine I’d have just fed them into the top.

![]()
With complete clear lights and cables just place them inside the jar with the cord draping out the back. This works for lights with plugs or battery operated lights. 
![]()
Because I drilled holes in my jars I was able to feed them in through the bottom. 
![]()
As you can see these look nice with the lights fed into each jar.

![]()
Here is how my final jars and bottles look sitting on my dresser. 
![]()
Battery operated lights are a lot of fun to use too. The battery pack has an on and off switch. I just set the pack behind the jar where it can’t be seen.

![]()

![]()


14 responses
Your lights are very pretty. I have put battery operated lights in many projects. I have taken many pictures, nervous to post. Maybe I will post a couple. Thank you for sharing.
[…] and I’m always looking for ways to incorporate them into my decorating. (You might recall my Easy to Make DIY Twinkle Light Jars I used in my […]
[…] be on your way to your own makeover in no time! As a side note this post does not include my twinkle lights or my bedroom wall ideas as we did a previous separate post on each of those […]
[…] I’m always looking for ways to incorporate them into my decorating. (You might recall my Easy to Make DIY Twinkle Light Jars I used in my […]
[…] This beautiful illuminated upcycled decor light was made from the covers on an old ceiling fan that we had replaced in our living room. I try to look past what something is to what it can be and this was about the easiest upcycled item I’ve ever done. I’m not sure it even fits that definition as it still basically does the same thing… covers a light. I used battery operated tea lights for mine that are on a timer so they are hands off until I need to replace the batteries. If you’d like some other twinkly room lighting ideas check out our Coffee Filter Twinkle Light Filters or our DIY Twinkle Light Jars. […]
Sweet. I love stuff like this that lights up. Pinned also. Linda @Crafts a la mode
Appreciate you stopping by Linda!
These are so adorable. Love how they glow at night. So many uses.
Bev
Thanks Beverly. Ü
Those are really cute!
Beautiful! Would look great for an evening wedding, too! 🙂
Very true. Thanks Christy!
Those look so elegant. Would look amazing at an evening event on the deck.
Thanks Hil. I agree!