![]()
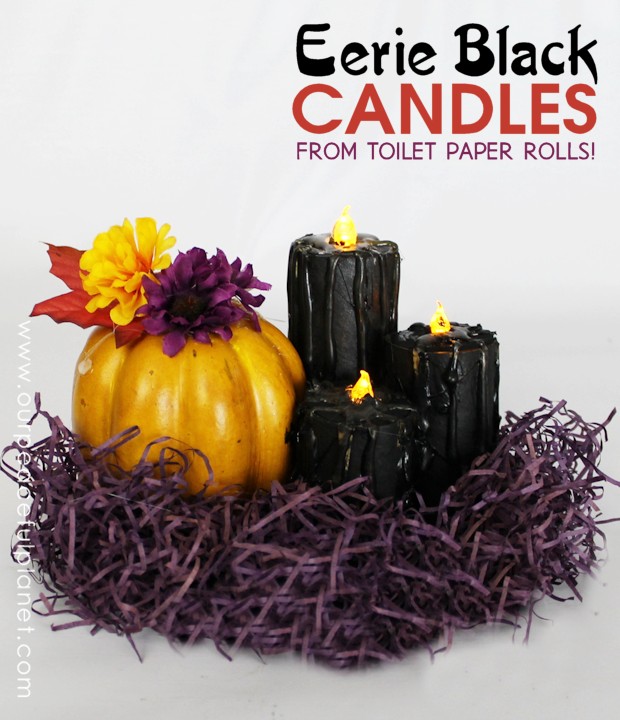
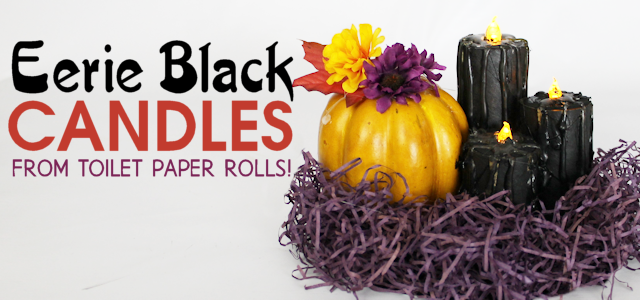
I love upcycle crafts that don’t resemble the item they are upcycled from. This Halloween Decor fits the bill and they are so fun to make! You can of course make them any color for any holiday. Everything you need can pretty much be bought from the dollar store. I made mine into a table setting by adding a small pumpkin (again, from the dollar store) and some shredded purple paper stuff I had. Then I glued it all on a painted paper plate. Every step is shown below with my notes.
![]()
Supplies Needed for Candle Halloween Decor
- Empty toilet paper rolls
- Hot glue gun (need high setting.)
- Pliers to hold candles while dripping hot glue onto them.
- Black paint (or paint of choice)
- LED Tealights
![]()
Visual Steps
Gather your supplies for the candles.
 /
/
![]()
Cut the toilet paper tubes as shown. 
![]()
You can paint the tops of the LED lights black or use black foam or construction paper cut into circles with a hole in the middle. Then push them over the "light". I used foam on mine.

![]()
Place a small line of hot glue on the end of the cut toilet paper tube to secure your light. Wrap around.


![]()
TRICKY PART: Make the drippings. You need hot glue on a HIGH setting. Use pliers to hold your candle firmly so you don't get burned by the glue. Hold the candle UPRIGHT. Starting at the BOTTOM squeeze hot glue slowly upward and ending near the flame of your light. The hot glue will ooze down a bit which is fine. It needs held up until it dries which takes a minute. I used a clothespin to hold the smaller ones while I dripped glue on them.
![]()
Once glue is dry paint your candle. 
You can display these in a variety of ways. You need some sort of base. I used a heavy paper plate but some wood or a small dish would work fine also. NOTE: These lights have an on/off switch on the bottom. I barely tacked mine down so I could pull them off easily in order to stick something like a flat screwdriver into them to flip the switch before use. Then I tacked them back down again. Good lights will last up to a week when kept on. Turning them on and off when needed they will last quite a while. ![]()

![]()
Painting the base black.
![]()
I used a bunch of shredded purple paper I had on hand. Moss would also work wonderful.
![]()
The final result. Looks awesome with the lights down low!

![]()

![]()
![]()


6 responses
[…] Tutorial: craftyourhappiness.com […]
[…] Tutorial: craftyourhappiness.com […]
I love this can’t wait to try it . Could use with different colors of paint too. Is it hard to turn tealights off and on?
I tacked my candles down lightly as you do have to pull them up if you need to switch the lights off an on. They are fairly cheap though so you could possibly let them run for a season… depending on the life of your tea lights, then just replace them next season.
Thanks, Nancy! Such a neat project.
You’re very welcome. Ü