![]()
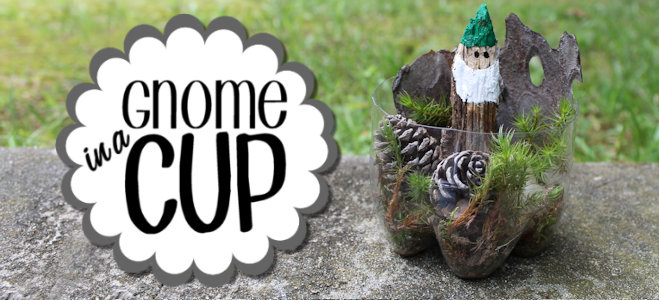
This little craft combines a little magic with a little nature. It’s great for kids and adults alike. I made one gnome in a soda bottle bottom and one in a glass cup. I actually liked the soda bottle version better because I was able to adjust the height.
![]()
Supplies
- 1 Liter Plastic Soda Bottle (This is the smaller size not the larger.)
- Hot glue gun
- Naturey stuff : pine cones, bark, moss, nice stones, twigs etc.
- One thicker branch about 3/4" to 1" thick for the gnome. Length depends on container.
- Knife for whittling. I used an X-acto type knife.
- Hand saw (Only if you need to cut the gnome branch shorter)
- Acrylic paints for hat, beard and eyes.
Instructions
1. For soda bottle, measure it where you want to make the cut and cut with a knife. I cut mine about 2 1/2" tall. Trim if needed with scissors to make it even. 2. Measure your gnome stick to protrude above the top of the container about 1 1/2" or so. If you can't find one the right size you'll need to trim with a saw. 3. Whittle the top into a point for the hat. Remove the bark for the face area. 4. Paint your gnome. It's usually naturally lighter where you removed the bark for the face. If not you can paint that area. My soda bottle stick didn't need the face painted. My glass stick did. 5. With a hot glue gun place a large gob of glue in the bottom center of the cup to hold the stick in place. OR you can also use the lid for the soda bottle and fill it with glue and place the stick in that. Then glue the lid to the bottom of the container. 6. Fill the container around the gnome with your nature items. You can glue some of them if needed but I just laid all of mine in place.
Photo Instructions
These photos show a mixture of the soda bottle or the glass cup. The contents are the same for each.![]() Plastic 1 liter soda bottle. (You can use a glass cup also if you find the right size.)
Plastic 1 liter soda bottle. (You can use a glass cup also if you find the right size.)

![]()
Measure, cut and trim. Mine is about 2 1/2 inches tall. 
![]() Nature Items. These were used for the soda bottle version.
Nature Items. These were used for the soda bottle version.

![]()
Items used for the cup version. 
![]()
![]() Whittle the top of your stick to a point. Remove the bark for the face. This stick was dark underneath the bark for my glass cup gnome. My soda bottle stick was much lighter which is typical. You can always paint the face area if you want. I did so on this one.
Whittle the top of your stick to a point. Remove the bark for the face. This stick was dark underneath the bark for my glass cup gnome. My soda bottle stick was much lighter which is typical. You can always paint the face area if you want. I did so on this one.

![]() Paint the hat and beard area. If the stick is dark under the bark you can paint the face area if desired. Add black dot eyes.
Paint the hat and beard area. If the stick is dark under the bark you can paint the face area if desired. Add black dot eyes.

![]() A soda bottle lid works well to mount your stick. Fill it with hot glue and place the stick in.
A soda bottle lid works well to mount your stick. Fill it with hot glue and place the stick in. 
![]() Glue the lid to the bottom of your container.
Glue the lid to the bottom of your container.
![]()

![]() Fill around the gnome with your nature items to make it look awesome! You can glue some items in if needed but I simply laid all my items in.
Fill around the gnome with your nature items to make it look awesome! You can glue some items in if needed but I simply laid all my items in.![]()

![]()
Finished Glass Version
![]()
Finished Soda Bottle Version. (My favorite one.)
![]()


3 responses
[…] DIY Nature Craft: Gnome in a Cup – Our Peaceful Planet […]
Love this little fella 🙂
Thanks Mila. Me to. Ü