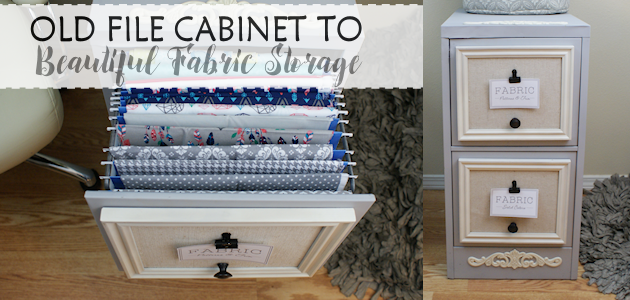
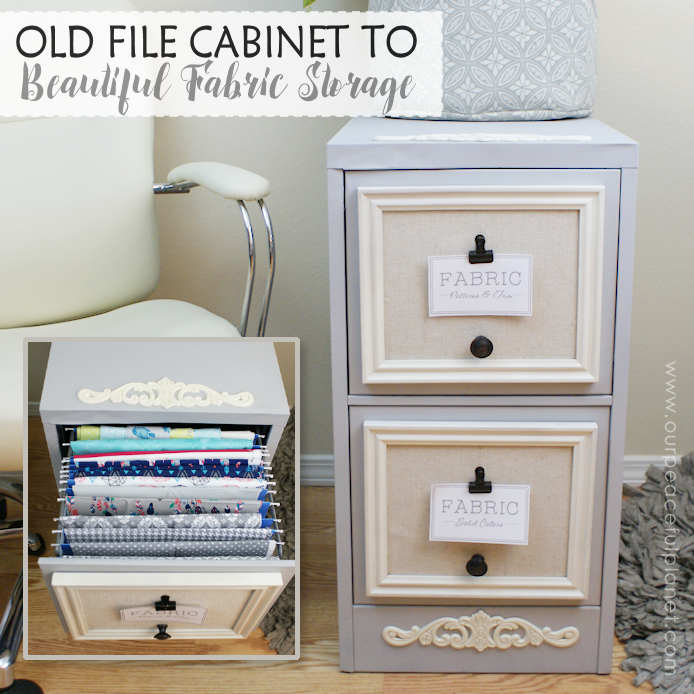
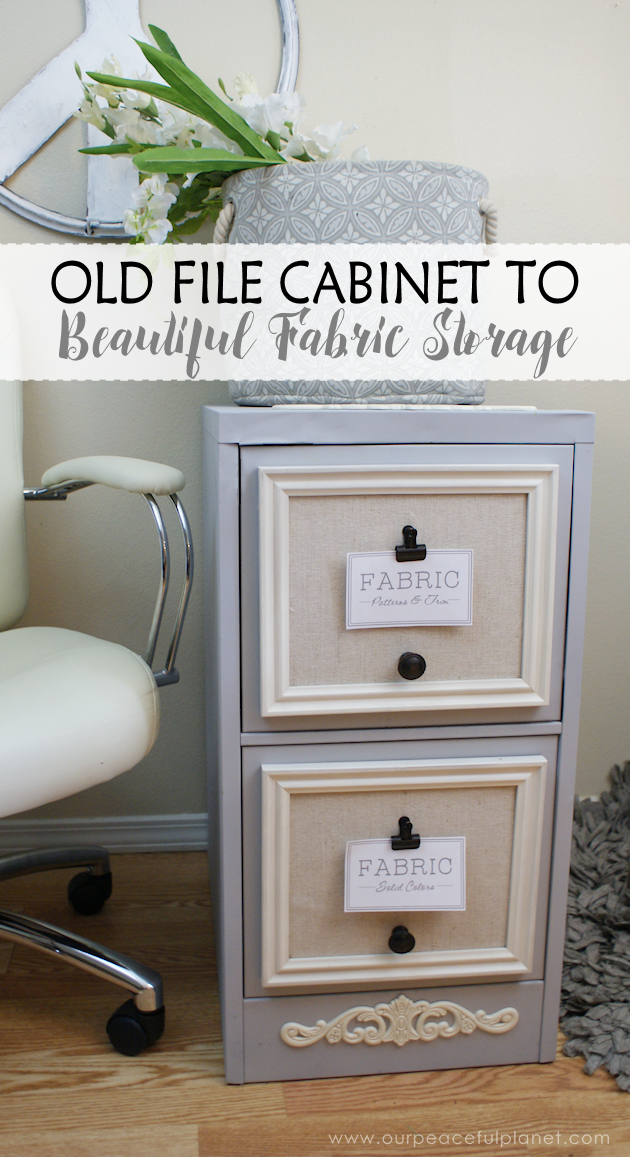
![]() Looking for a way to store all those pieces of fabric you’ve been collecting? Well it ends up a 2 drawer file cabinet might be the answer to your problems! We’ll show you how to take a plain cabinet and turn it into something beautiful and useful. As you’ll see below, our file cabinet was in pretty bad shape. Amazing what just some paint will do! You might recall we did a similar post entitled How to Organize Fabric with a File Cabinet which has a little more details on placing the fabric inside your cabinet. This version is definitely a step up and much classier. If you want more ideas for organizing craft supplies in general, check out our post The Most Creative Craft Room Organization Ideas.
Looking for a way to store all those pieces of fabric you’ve been collecting? Well it ends up a 2 drawer file cabinet might be the answer to your problems! We’ll show you how to take a plain cabinet and turn it into something beautiful and useful. As you’ll see below, our file cabinet was in pretty bad shape. Amazing what just some paint will do! You might recall we did a similar post entitled How to Organize Fabric with a File Cabinet which has a little more details on placing the fabric inside your cabinet. This version is definitely a step up and much classier. If you want more ideas for organizing craft supplies in general, check out our post The Most Creative Craft Room Organization Ideas.
2 Drawer File Cabinet Makeover Supplies
- Filing Cabinet. Any type should work.
- Spray paint. we used Rust-Oleum’s Chalked Spray Paint
- Epoxy or any strong fast setting glue
- 2 8″x 10″ picture frames (Ours had a fabric background and clip already on them but you can easily add your own or design it another way.)
- 2 Knobs. We used wood black knobs but you can use any type you want. Crystal, silver, gold etc.
- Drill
- Wood Accents or Ornamental Carvings. Amazon has a few but your best bet is Hobby Lobby or Michael’s.
CHALK PAINT OPTIONS
You can also paint it with chalk paint either purchased or using one of the recipes below.
CALCIUM CARBONATE RECIPE
- 2 Parts paint
- 1 part calcium carbonate
Mix and use.
PLASTER OF PARIS RECIPE
- 3 Parts Paint
- 1 Part Plaster of Paris
- Water
Add just enough water to the Plaster of Paris to make a paste. Then add the Plaster of Paris into the paint and mix thoroughly.
 Label Download

![]()
Instructions
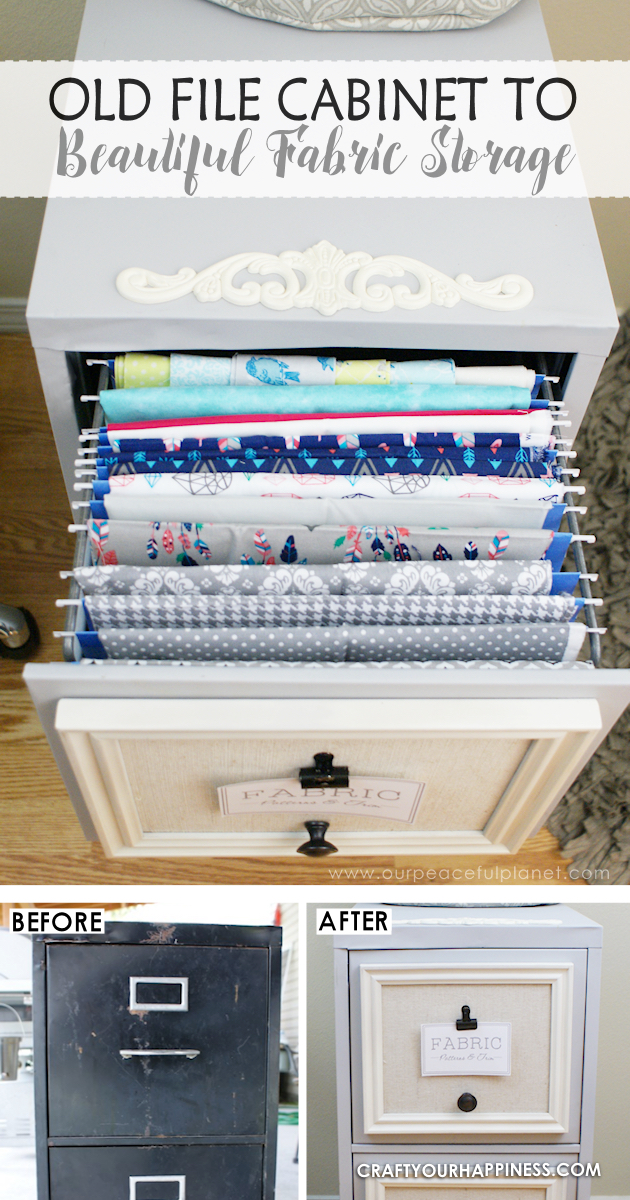
This is the file cabinet we started out with. Yuck.

Here are some of the main supplies needed. Notice we found some frames with fabric backgrounds and clips attached. You could also easily add the fabric and clip to a normal frame. 
If your cabinet has hardware on the front, remove it.
Our cabinet was in storage and needed a good cleaning.
We then gave it several coats of Rust-Oleums Chalked spray paint in grey.
This is after a couple of coats. Still needs more as you can tell. 
The back stand of the frame needed to be removed.
We just bent it off. 
We turned the cabinet on its back with drawers facing upward. Then we put a line of epoxy around each frame and attached it in place in the center of each drawer.
Allow the frames to dry completely. 
After they were dried, we marked where we wanted our knobs to be placed on each drawer.
We drilled a hole down through the frame and cabinet. 
Then we added our knobs. 
We decided to add two wood accent pieces. 
First we painted them a cream color.  We added Epoxy to the back of each piece.
And placed one on the top front of the cabinet.
There was a perfect spot for the other on the bottom of the cabinet which would also cover a hole.
Press into place and allow to dry.
Now is the time to add your hanging file folders and drape your fabric over them. 
![]()

![]()

![]()
![]()
![]()